>Wok Wok Wok

>I’m sorry. I couldn’t resist. I just love saying the word Wok.


Wok wok wok.


ANYWAYS.


I’m glad to see you’ve made it to Thursday…Friday is so close I can taste it!


I have absolutely NO clue where I got today’s Dinner Feature recipe from. I just found a photocopied page of a cookbook with only page numbers, and some sort of spiral binding and no identifying marks. Hmm. So, if you read this and you realize this is your recipe, CLAIM it because it’s wonderful!


Thus, with no further ado…


Shrimp and Peas in Wok
(clever title, no?)


Ingredients:
1 tbsp cornstarch
1 tsp salt
1 tsp honey
1 tsp ground ginger
3/4 cup chicken broth
2 tbsp Tamari soy sauce
1 clove garlic, crushed
1/4 cup peanut oil
1/2 lb (8 oz) fresh mushrooms, sliced
1 pkg (10 oz) frozen peas, thawed
1/4 cup green onion, minced
1 bag (1 lb 4 oz) frozen cleaned shrimp, thawed, or 1lb fresh shrimp, peeled, deveined
hot cooked brown rice


Directions:
Combine cornstarch, salt, honey and ginger. Blend in chicken broth, soy sauce, and garlic.


Preheat wok or skillet about 3 minutes. Add oil and continue heating over high heat. Add mushrooms, stir-fry 1 minute. Add peas and onions. Stir-fry 2 minutes. Add shrimp. Cook and stir until shrimp are pink and firm, about 3 minutes.


Stir chicken broth mixture to blend. Add to shrimp mixture and cook and stir until sauce is thickened and clear. Serve over rice. Makes 4 servings.


I was in a bit of a picture-taking mood this time around, so I hope you’re feeling tolerant.


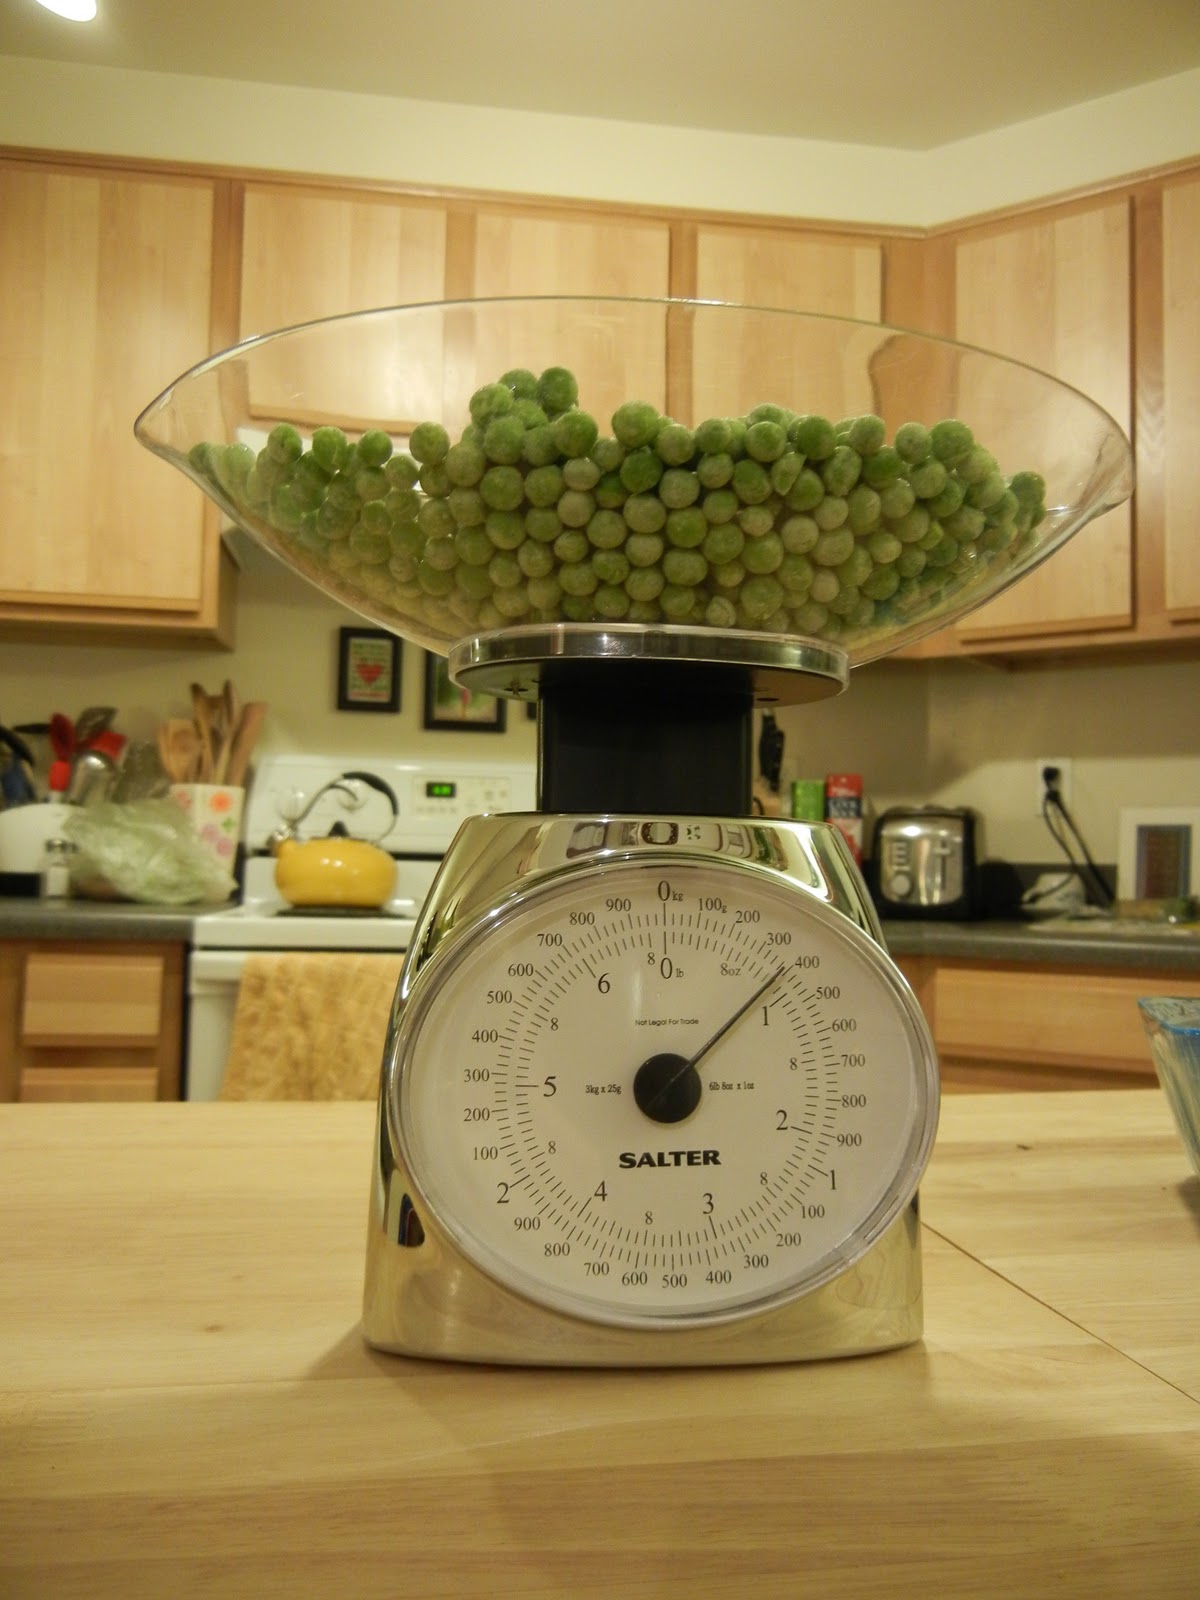
I buy peas in huge bulk bags because we’re a pea-eating family, especially when I’m a vegetable snob and don’t really enjoy many frozen or canned veggies, which becomes an issue in the winter when fresh produce isn’t peeking out of every corner. It’s a problem, and I’m coming to grips with it. So this is me, measuring out my 10 oz of peas.

Frozen shrimp (also purchased in bulk) are not quite as pretty to weigh out.

This is what happens when you drink strong wine while you’re cooking (and waiting for your rice to cook). Hmm.

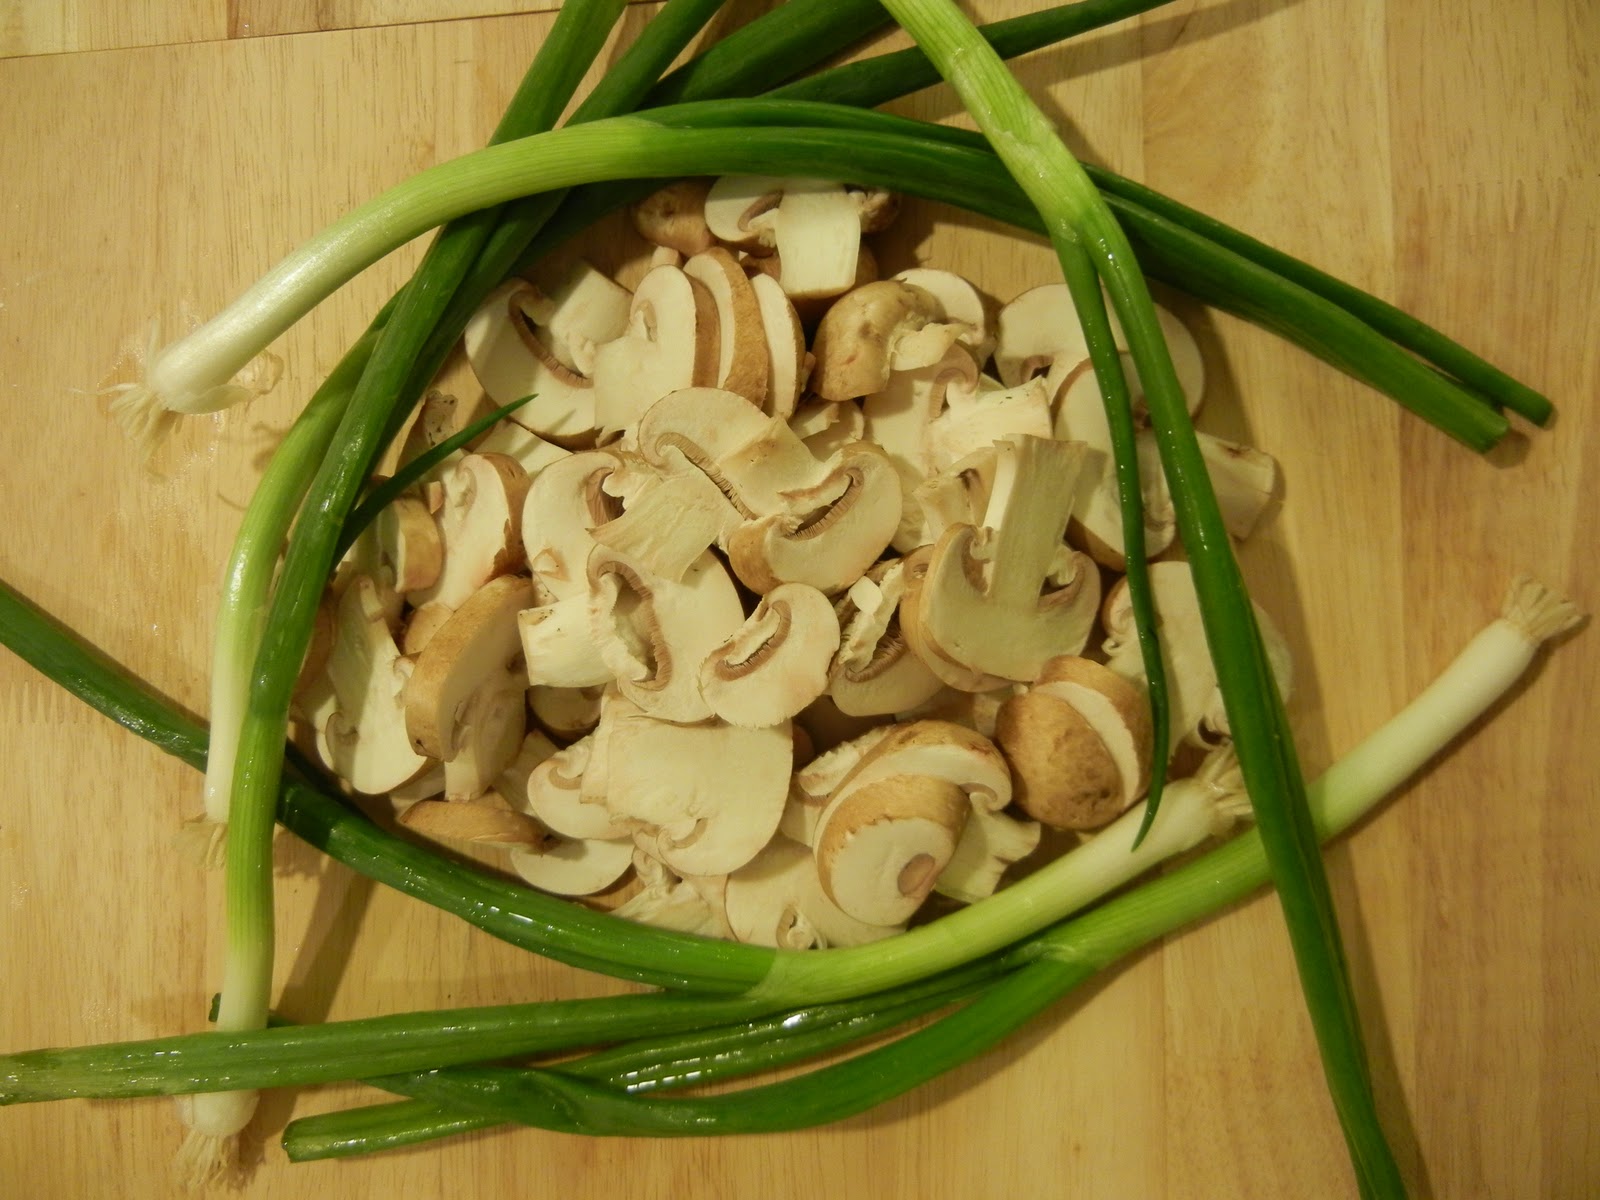
Yummy ingredients. I used baby portobello mushrooms (our grocery store calls them “Baby Bellas”, and I also doubled the quantity of green onions.


So, I’ve always been a weeee bit afraid of heating oil over “high” temperatures. So I turned mine up to about medium and then gradually raised it up. I’m sure it’s a cooking no-no, but until I can go to culinary school and learn how to not make things explode or give me severe burns…that’s my method.


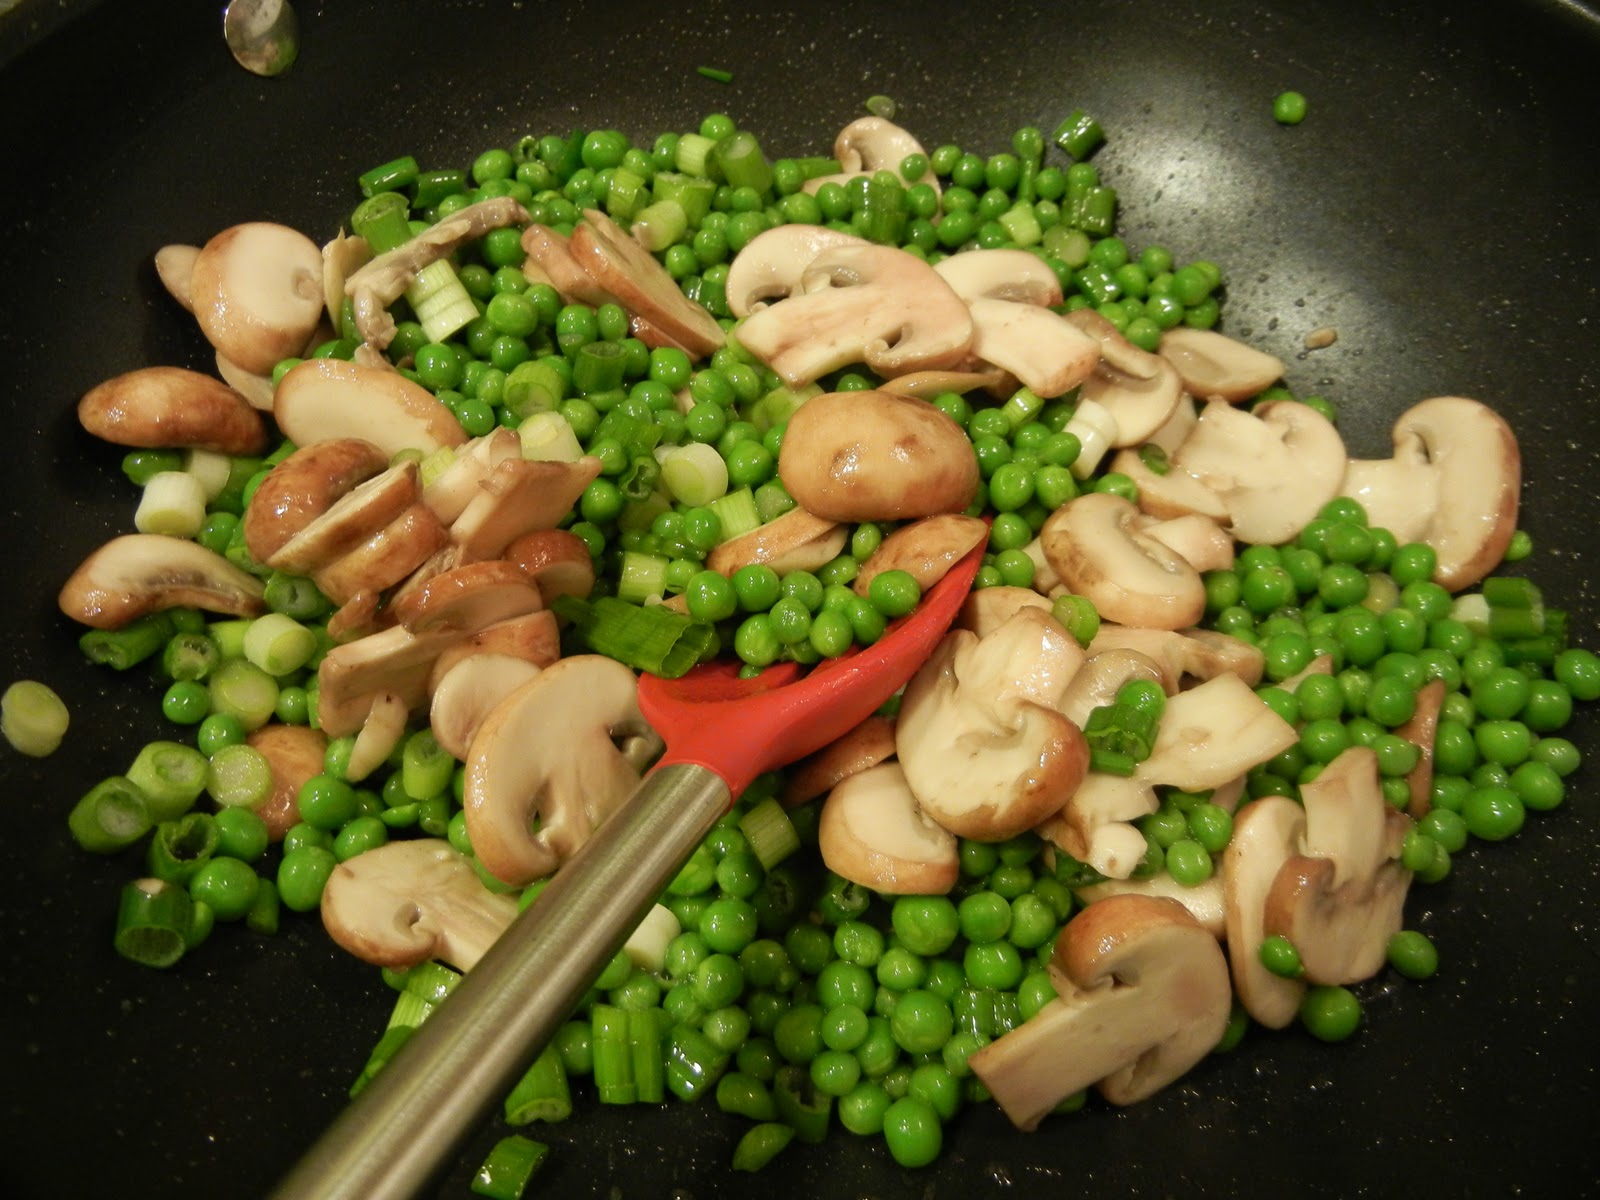
This looks lovely cooking, doesn’t it?

My shrimpies, cleaned, thawed, and ready to go.

For some reason I couldn’t get a clear photo of the sauce, but it was icky looking anyway so I think it’s for the best.

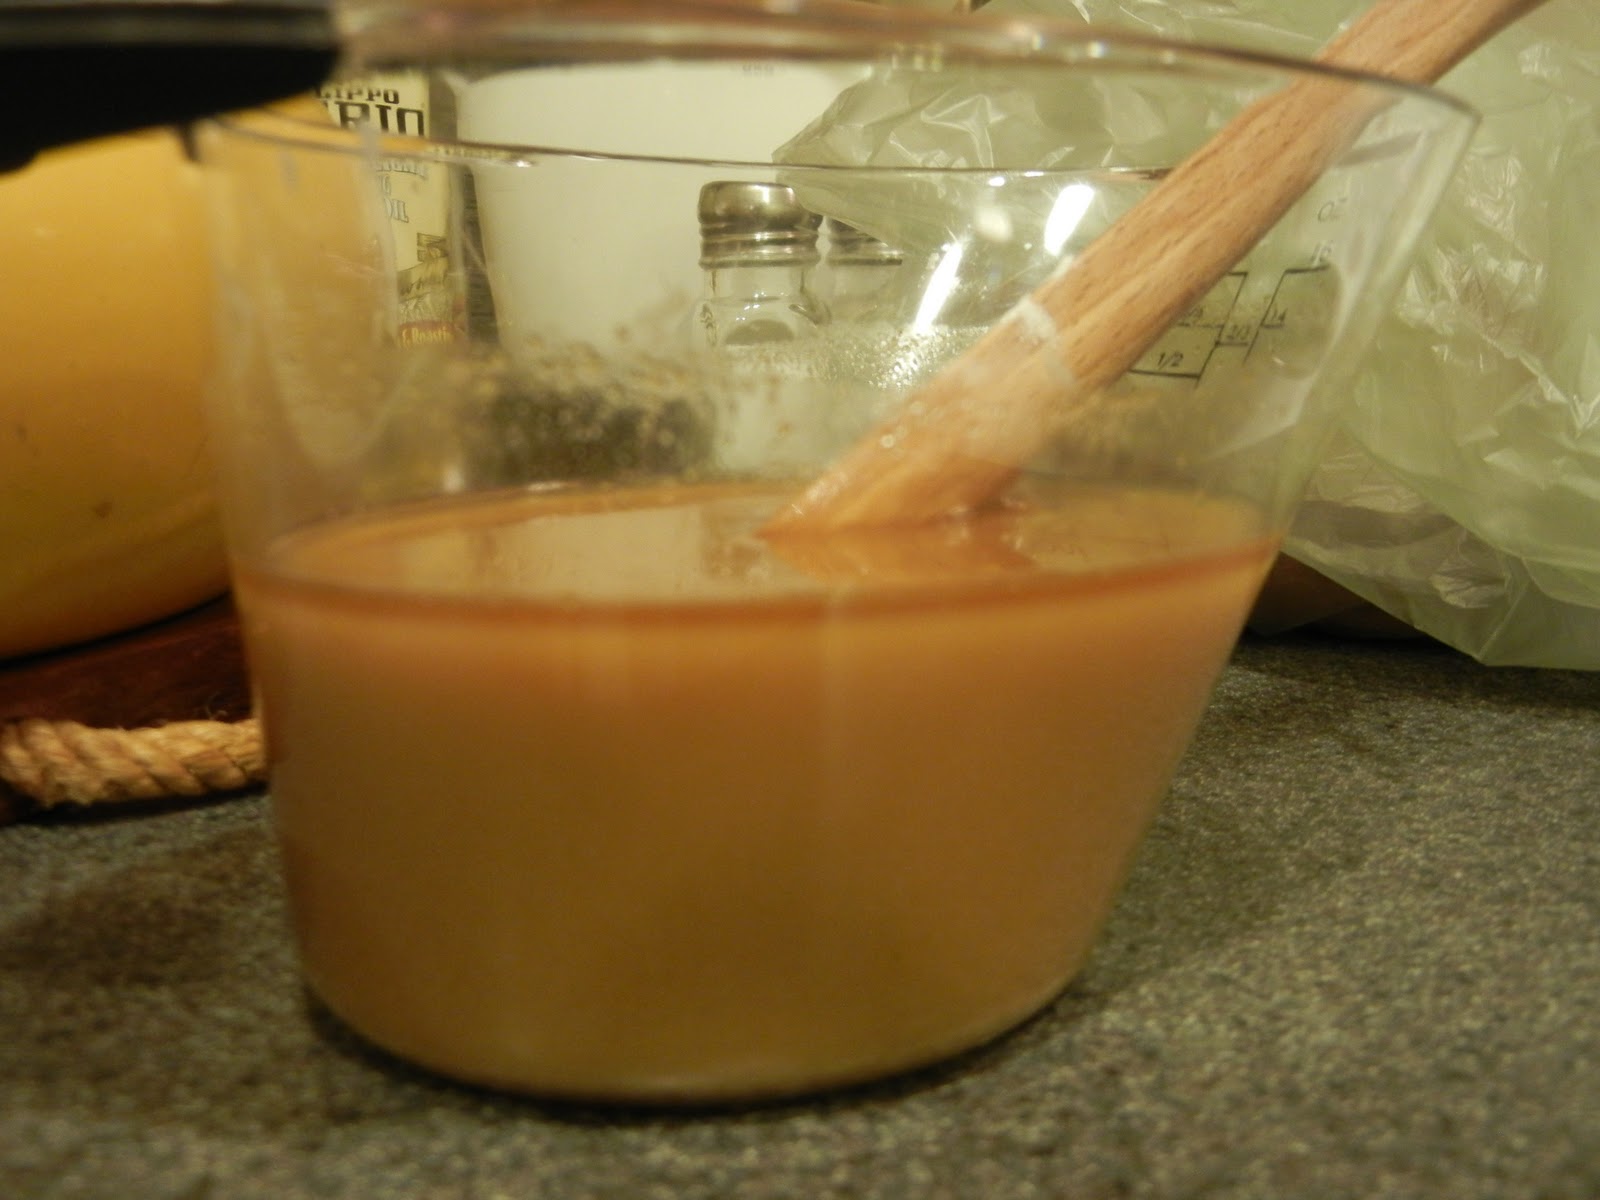
Simmering down that sauce. By the way, at this point your kitchen is going to smell like heaven. I’m just saying.

Note: most brown rice takes at least 45 minutes to cook, and a stir fry with delicate ingredients like this generally doesn’t cook longer than a few minutes, so be sure to plan ahead and get your rice going right away.


Also, because I used lower temperatures, mine took longer than 2 or 3 minutes to cook. I kind of just kept an eye on everything and made sure it wasn’t getting too mushy. It takes probably at least 10 minutes (for me anyway) to reduce the sauce, so take that into account when you’re doing the intial cook of the veggies.


Final product over rice!

I bet you wish you could taste it!


Verdict:
This will definitely be added to my list of go-to recipes. The ingredients list is a piece of cake – most of it I already had on hand. Scott and I BOTH had two helpings (I know I know, shame on me) and I also had it for lunch the next day. I should note that three people at work commented on how good it smelled being heated in the microwave, if you weren’t convinced you should make it already.


Try this recipe. Your taste buds will thank you. (And your tummy too, since it’s low-fat! Although not necessarily low-sodium, if we’re covering all the health bases.)


Happy Thursday!
Photobucket

>Portobellos Wrapped in Goodness

>What’s that? Wrapped in goodness?? Oh yes, yes that’s right.


So, I was browsing through my cookbook in a section that I don’t normally browse in. “Beans, Rice, & Grains”. Which I usually tend to avoid because it just seems boorrrinng. However, this picture caught my eye.

Courtesy of the amazing Better Homes & Gardens

Which can also be found here, with a nice printable recipe too. Because good things do happen sometimes.


And hooo-boy does that look amazing. So, I decided to try it! Aren’t you excited?


Portobello Wrap with White Bean-Chili Spread


Ingredients:
4 portobello mushroom caps, stems and gills removed
1/4 cup bottled Italian salad dressing
1 19-oz can white kidney beans (cannellini), drained and rinsed
2 cloves garlic, quartered
3 tbsp olive oil
1 tsp chili powder
1/4 tsp salt
2 cups fresh baby spinach
1 tbsp bottled Italian salad dressing
4 8-inch garlic-herb, spinach, or plain flour tortillas
4 ounces goat cheese (chevre), crumbled, or 1 cup shredded Monterey Jack cheese (4 ounces)


Directions:
1. Brush portobello mushrooms on both sides with the 1/4 cup dressing. Let stand for 15 minutes.


So, naturally this was the one time my grocery store didn’t have full-size portobello caps, so I went ahead and bought them pre-sliced.

To remove the gills, just take a spoon and gently scrape them away. It’s fun…and a little bit messy.

Nice and clean-scraped.

Mmm…marinating mushrooms. YUM.


Meanwhile, in a food processor combine beans, garlic, olive oil, chili powder, and salt. cover and process until nearly smooth; set aside.

White Bean-Chili Spread goodness. 


2. Toss spinach with the 1 tablespoon salad dressing; set aside.


3. Preheat broiler. Place mushrooms on the unheated rack of the broiler pan. Broil 4 inches from heat for 6 to 8 minutes, turning mushrooms over halfway through broiling. Slice mushrooms into strips.


Cooking them pre-sliced didn’t seem to do too much harm, and I did still slice them up thinner to fit better in the wraps. Tasty!


4. Spread about one-third of the bean puree evenly over each flour tortilla. Top the bean puree layer with warm mushroom slices, spinach mixture, and cheese. Roll up each tortilla around fillings. Place wraps, seam side down, on plates.


* A little secret…we’re carnivores, and this is a vegetarian recipe. I would have been fine with just the mushrooms and beans, but to keep Scott happy, I added some chopped up chicken I had leftover from roasting a chicken. I imagine you could add most any meat – sliced up steak would probably be good too.


All rolled up and ready to eat. 


Verdict:
I was initially worried about the quantity of chili powder involved in this. I’m usually a pretty big wimp when it comes to spicy food, but I decided to be brave and use the full amount. In the end, I’m glad I did!  It’s not spicy at all, and just has a really rich, creamy flavor that blends well with the Italian dressing and mushrooms. And the best part, it’s healthy too! The bean-chili spread seems like something that you could make other sandwiches with, or might even be good on tacos.


Oh, and Scott loved it too, so it’s man-approved. I highly recommend this recipe for something light and healthy when you need a break from typically heavy winter foods.


Aren’t you glad you found out about Portobellos wrapped in goodness??


Happy Thursday!
Photobucket

>Chicken + Cheese Spread = Drool

>Every now and then I get a hankering for something delicious and cheesy, but unfortunately I have a notoriously sensitive stomach and can only handle a little bit. I’ve learned to concentrate my cheesy goodness into lower-fat options so that I don’t keel over.


Today was one of those cheesy-goodness-craving days so thus, I let myself loose in the kitchen. And this Thursday’s Dinner Feature is the result, which I’m proud to say is my own experimental recipe. Woop woop!


Cheese-Spread Chicken Roll-Ups


Ingredients:
1 pound boneless, skinless chicken breasts
1/3 cup crushed pretzels
2 oz cream cheese (I used the low-fat Neufchatel cheese), softened
1/2 tbsp dried chives
1/2 tsp garlic powder
plain bread crumbs


Directions:
Place chicken breasts between wax paper, and pound to about 1-inch (or thinner) thickness using a meat mallet (or in my case, a rolling pin).


Meanwhile, mix pretzels, cream cheese, chives, and garlic powder in a small mixing bowl.


Spread cheese mixture onto flattened chicken breasts, then roll-up, securing with tooth picks. Try to make sure the rolls are all roughly the same size. Gently roll chicken rolls in breadcrumbs, then arrange on a baking sheet. Bake at 375 for 30 minutes or until cooked through (180 degrees is the standard).


I served our chicken with lightly buttered peas and Chicken Rice-A-Roni. Yep, I’m not ashamed to admit it. I have at least five more boxes of Rice-A-Roni in our pantry too. I think it wound up being a delicious combination.

I just think chives are beautiful, don’t you?
“And then I’LL SMASH IT WITH A HAMMER!!!” (Name that movie!)
Nothing like raw chicken to whet your appetite.
I had used frozen chicken breasts which for some reason are never as evenly-shaped
or pretty, so mine were a little irregular. Always start rolling from the narrower end.
Nice and thin.
Roll ’em up cowboy! 
It helps if you pinch slightly as you go.
Secure with toothpicks (and please don’t forget to REMOVE the toothpicks before eating!)
Roll in bread crumbs… 
Arrange on the baking sheet. (Which mine is naturally lined in…who can finish the sentence? Oh yes. Foil. You’re ALL correct. Good for you!)
Post-baking goodness.
Cheesy-goodness chicken, peas, and rice. 

Verdict:
Scott rated it two helpings, with a very happy grin and lots of head-nods. My stomach was extremely happy, and I probably would have gone for seconds too if I wasn’t attempting another one of those…diet…things…ahem. I’d say two thumbs up!


Tricks of the Trade:
I pretty much showed all the tricks of the trade as I worked through the recipe, but I did leave out one thing. The reason I named it Cheese-Spread Chicken Roll-Ups is because the cheese mixture could easily be spread onto crackers or toast for an amazingly delicious treat. So, if you wanted to kill two birds with one stone, double the cheese portion of the recipe and divide it out into a separate container before you begin layering it on the chicken. Voila! – instant appetizer that will be a great hit at your next party.

Happy Thursday!
Photobucket

>Pork Dumpling Soup

>This Thursday’s dinner feature was a bit of a stretch for me. I’m not sure what possessed me to try it, since I’m not a huge fan of large quantities of ginger and cilantro. Maybe it was this picture, found in Southern Living magazine (the recipe can be found online here).

Tell me that doesn’t make your mouth water.

So, I decided to leave my comfort zone and give it a try. All the ingredients were pretty easy to find, with the exception of won ton wrappers. I feel like I have seen these in the store before, but naturally, this was the one time I couldn’t find them. Which in my head, left me with no choice but to make them from scratch. Simple, right?


Here is the recipe I followed (found here):


Wonton Wrappers:
1 egg
3/4 tsp salt
2/ cups all-purpose flour
1/3 to 1/2 cup water, as needed
extra flour as needed


Lightly beat the egg with salt. Add 1/4 cup water. Sift the flour into a large bowl. Make a well in the middle and add the egg and water mixture. Mix in with the flour. Add as much of the remaining water as necessary to form a dough. (Add more water than the recipe calls for if the dough is too dry).


Form the dough into a ball and knead for about 5 minutes, or until it forms a smooth, workable dough. Cover and let rest for 30 minutes. Turn the dough out onto a lightly floured surface. Roll out until very thin, and cut into 3 1/2-inch squares. Store in a plastic bag in the refrigerator or freezer until ready to use.

I used a fork to blend my dough together, out of sheer habit from making pie crusts. After a point, there will still be flour left in the bowl and you just have to use your hands to knead it into the dough.
Nothing like a nice dough ball.
I have to say this right now: This was one of the prettiest doughs I have ever worked with. It was very springy, but barely stuck at all and was smooth as a baby’s bottom
Given that the recipe says it makes about 24 wonton wrappers and mine only made about 15…I’d say I either cut them too large or didn’t roll out the dough thin enough. However, my arm muscles were tired so this was as good as it got!

Before I cut out the actual squares and while the dough was resting, I started to make the mixture for the dumplings. Here is the recipe I followed for the soup.


Pork Dumpling Soup:
1/2 lb. lean ground pork
1 tbsp minced fresh ginger
3 tbsp chopped fresh cilantro
3 tbsp hoisin sauce, divided
15 won ton wrappers
3 (14 oz) cans low-sodium fat-free chicken broth
1/2 cup sliced fresh mushrooms
1/4 cup sliced green onions
Garnish: cilantro sprigs


1. Brown pork with ginger in a nonstick skillet over medium-high heat, stirring often, 5 minutes or until meat crumbles and is no longer pink.
2. Combine pork mixture, cilantro, and 2 tbsp hoisin sauce in a medium bowl.

3. Arrange 1 won ton wrapper on a clean, flat surface. (Cover remaining wrappers with a damp towel to prevent drying out.) Moisten edges of wrapper with water. Spoon about 1 tbsp pork mixture in center of wrapper; fold 2 opposite corners together over pork mixture, forming a triangle. Press edges together to seal. Cover with a damp cloth. Repeat procedure with remaining wrappers and pork mixture.

Aren’t they cute?!

4. Bring broth and remaining 1 tbsp hoisin sauce to a light boil in a Dutch oven (or heavy saucepan) over medium heat; gently stir in 8 dumplings. Cook 4 to 5 minutes or until dumplings float to top. Place dumplings in 5 individual serving bowls. Repeat procedure with remaining 7 dumplings.
5. Add mushrooms and onions to simmering broth; cook 1 minute. Ladle 1 cup broth mixture over dumplings in bowls. Garnish, if desired. Serve immediately.


Note: To freeze dumplings, assemble as directed, and place in a single layer in a large zip-top plastic freezer bag. Freeze up to 3 months. Cook as directed.


Mine almost looks like the original photo, right? (Or maybe that’s wishful thinking…hmm…)


Tricks of the Trade:
When cutting the won ton wrappers, I kept them between layers of wax paper, and then covered the whole thing with damp paper towels. Keeping the dough moist is essential for this recipe. If someone makes this with store-bought won ton wrappers, I’m curious to know how they came out, so please tell!


Also, we obviously didn’t divide the dumplings into 5 bowls, since there are only 2 of us. I basically just put all the finished ones in a bowl, covered them to keep them warm while I cooked the rest, and then once I had ladled out portions for Scott and I, I put the rest of the dumplings in with the broth to keep them warm.

Verdict: 
Scott had two helpings, which means it got his seal of approval. Also, in his words, “you got the broth dead on – it tastes like one from a restaurant”. Funny, since this was one of the easiest broths I’ve ever made. I was on the fence, but mostly because of the cilantro and the ginger. The dumpling dough and the broth were delicious.

Overall, it probably would have been significantly easier and faster to make if I had store-bought won ton wrappers, or had made the dumplings ahead of time and frozen them. It’s a tasty recipe, but it definitely took some time to do. For now, I’m brainstorming other tasty things I could put into dumplings and freeze for easy soups later. Hmm… ideas anyone?

Happy Thursday!

*Note: Because I have no shame, I thought you’d like to know that when I originally typed out this post, my title read “Pork Dumping Soup”. I was about to click the Publish button when I realized this. And I probably would have wondered why no one wanted to try it. Whew for proofreading! 

Photobucket